Microsoft Education combines multiple Microsoft tools and storage spaces into one place to connect with ICON.
Upon set up, the Microsoft Education LTI will create a SharePoint site for your course. Even if you do not use the SharePoint site in your class, do not delete it as doing so will break the LTI.
Set up Microsoft Education
Add Microsoft Education to your Course Navigation Menu
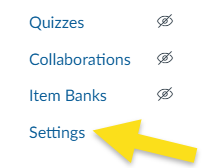
1. Navigate to your ICON course and click Settings at the bottom of the course navigation menu to the left.
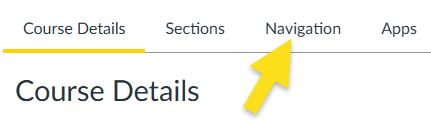
2. Click Navigation in the menu across the top.
3. Scroll down to the second list – these are items that can be added to your course. Find Microsoft Education and click the three dots to the right of it and select Enable.
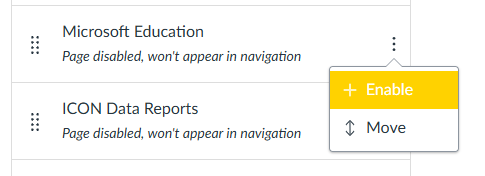
4. This will move Microsoft Education to the top list of items that appear in the Course Navigation menu. You may move it to adjust the position in the menu, then click Save.
Sync Microsoft with ICON
1. Navigate to your ICON course and click Settings at the bottom of the course navigation menu to the left.
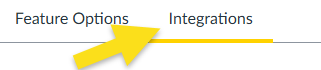
2. Select Integrations from the menu at the top.
3. Click the button to the right of Microsoft Sync so it so it is a green check mark.
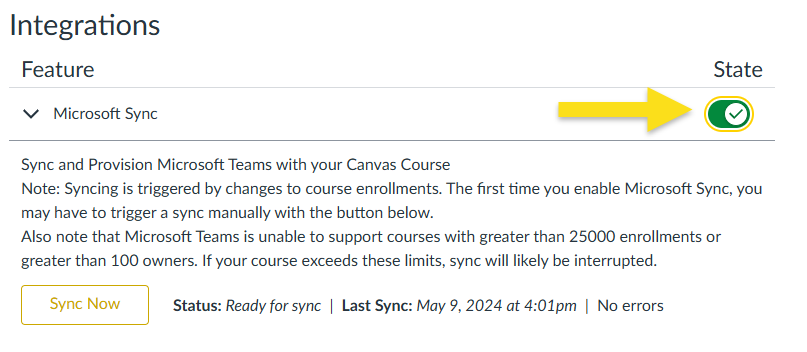
4. Click Sync Now to start the first sync, but syncs should be automatic after this.
Create a Microsoft Assignment
Update Links for Office 365 Tools
Microsoft has changed its LTI connection to Canvas, and while some links have been updated automatically, some will need to be updated manually to work.
Please check all links to Office 365 tools in your course. Files uploaded directly to your course and stored there will not be impacted. Any broken links will need to be updated.
To update the links in Modules:
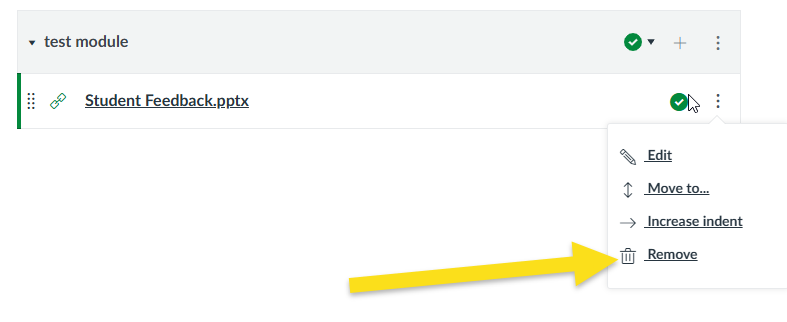
Go to the item using the old LTI that you want to update. Click the three dots to the right of it and select Remove.
Click the + at the top of the module you want to add the item to. Then use the pulldown menu to select External Tool, then look for Microsoft Education.
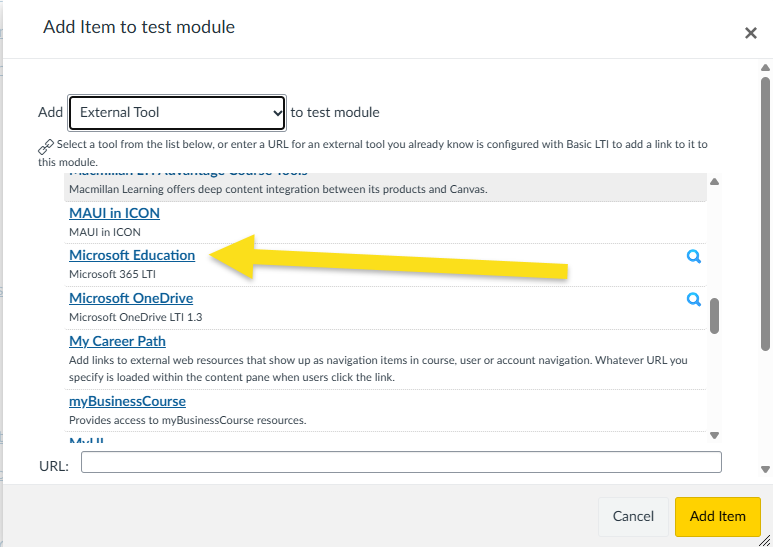
- This will bring up the Microsoft Education app where you can search One Drive for the file you want.
- Select the item and click Update.
To update items in Pages, Assignments, Quizzes, Discussions and elsewhere using the Rich Content Editor:
- Navigate to the item you want to edit and click the Edit button.
- In the Rich Content Editor, delete the link that isn’t working.
Click on the Apps symbol and select Microsoft Education.
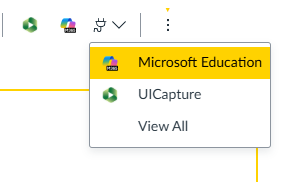
- Login if necessary and click Add File to find the file you want to include and then click Select. Decide if you want the item to be an embed the content or add a link, then click Continue.
- Click Save.
Update Collaborations
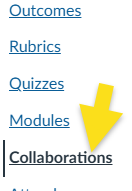
Click Collaborations in the course menu.
Delete the past Collaboration.
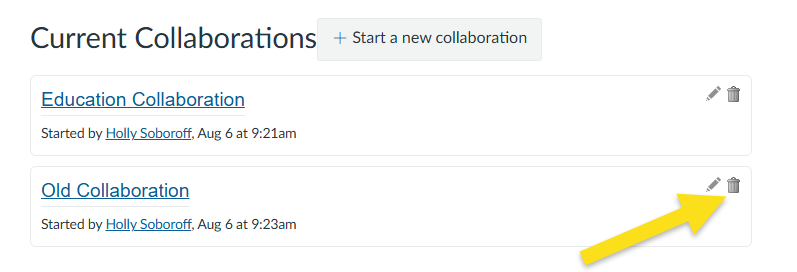
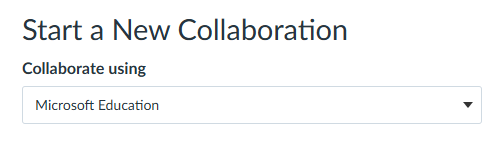
Click Start a new collaboration, use the dropdown menu to select Microsoft Education.
Click Select Existing Document.
This will load your files. You can access your course in the menu to the left. Select the icon for your course, then you can find the previous document in the Collaboration Items folder.
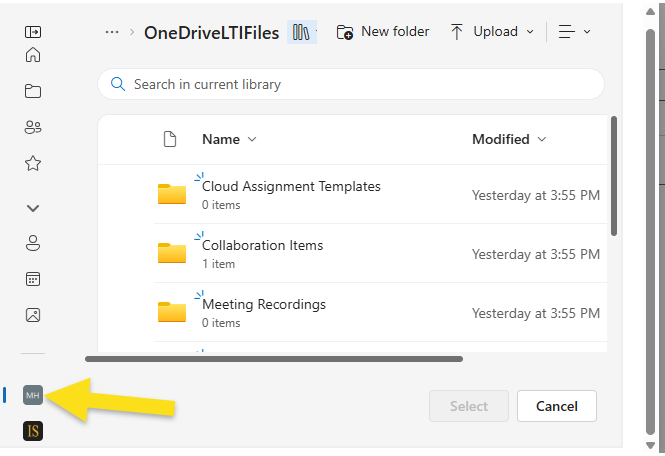
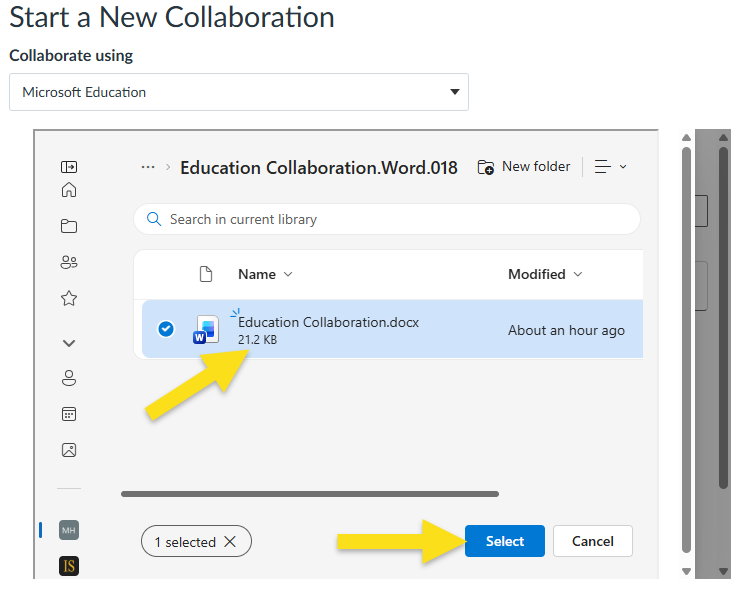
Look through the folders there to find the correct file. Click on that and then click Select.
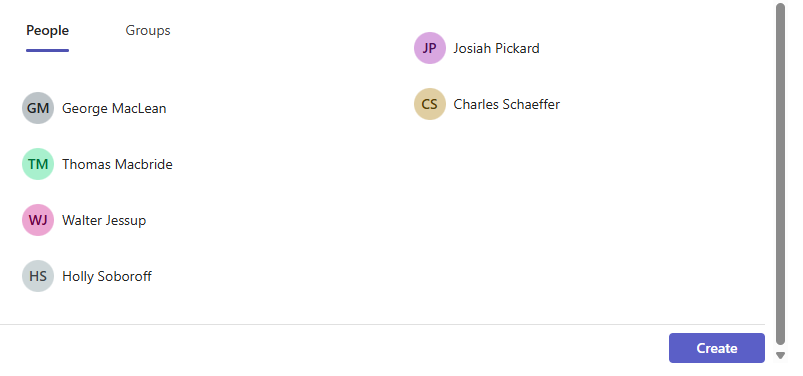
Select students to add to the Collaboration and click Create.
Reconnect a Class Notebook
- Click on Microsoft Education in your course navigation menu. If that is not in your course navigation menu, see Set Up Microsoft Education above.
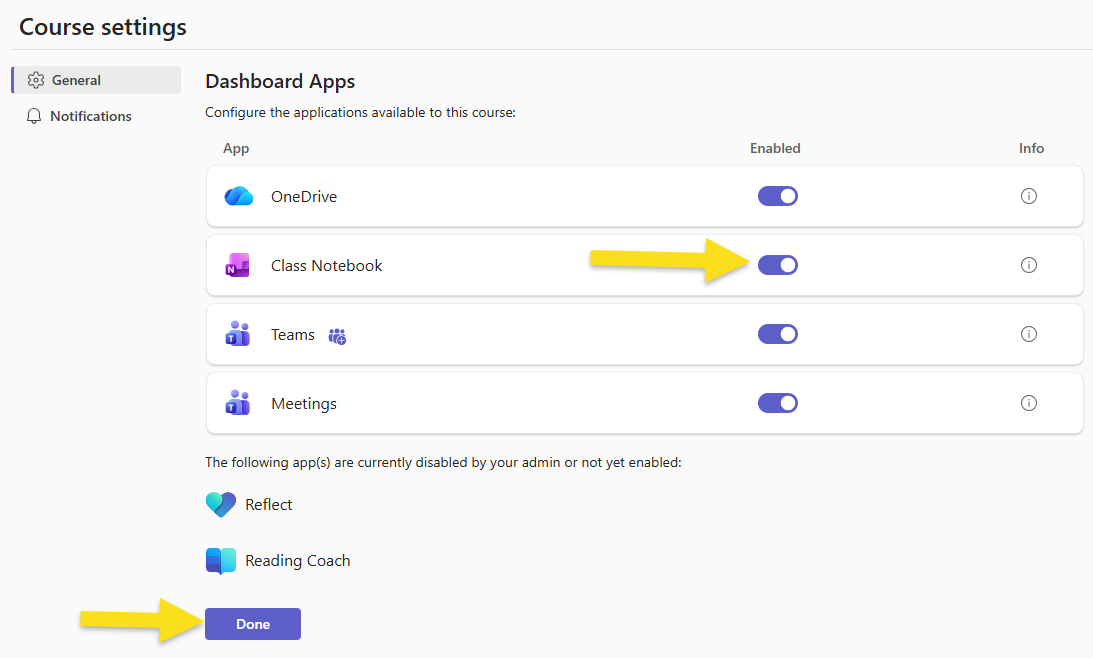
If necessary, log in with your University of Iowa Microsoft account that uses your HawkID and password. Once logged in, you may need to complete set up and make sure Class Notebook is enable in your course, then click Done.
Select Class Notebook.

Click Set up a OneNote Class Notebook, then choose From existing notebook content.
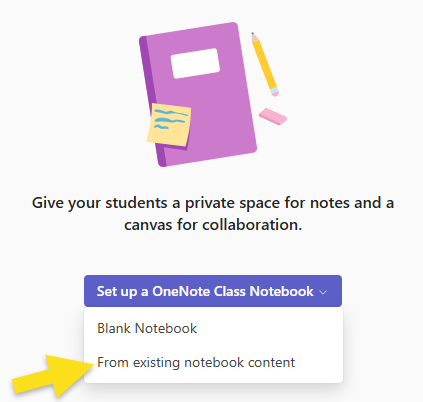
- You'll go to a page that tells you what a Class Notebook does. Click Next.
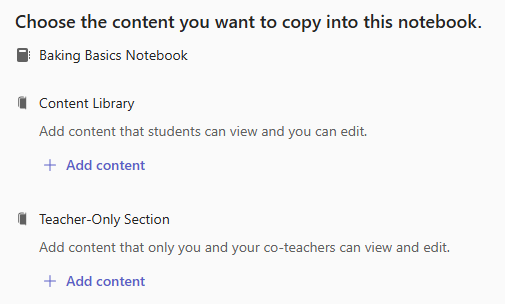
On the next page you will see places to add content to the Content Library that students can view and edit and the Teacher-Only section. Select + Add Content for the content you want to add.
You can browse or search for your notebooks to find the one you want to add. Choose the one you want to use and click Next.
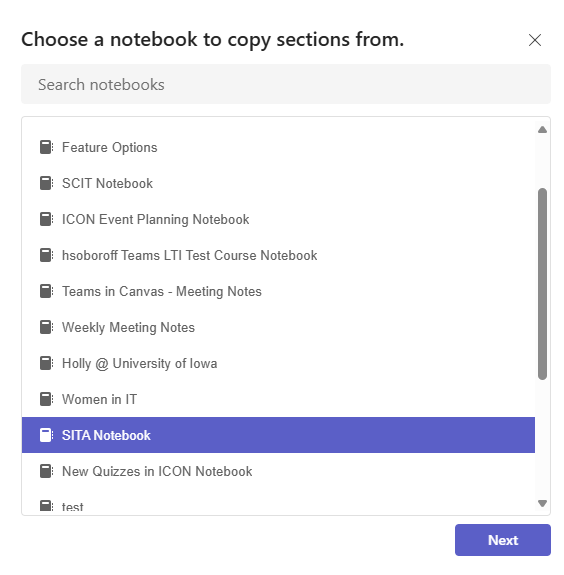
- Select the sections you want to add and click Done.